Save image from Google maps

Photoshop.Using Replace color tool, or better Color range tool - select red roofs and make a layer from them.
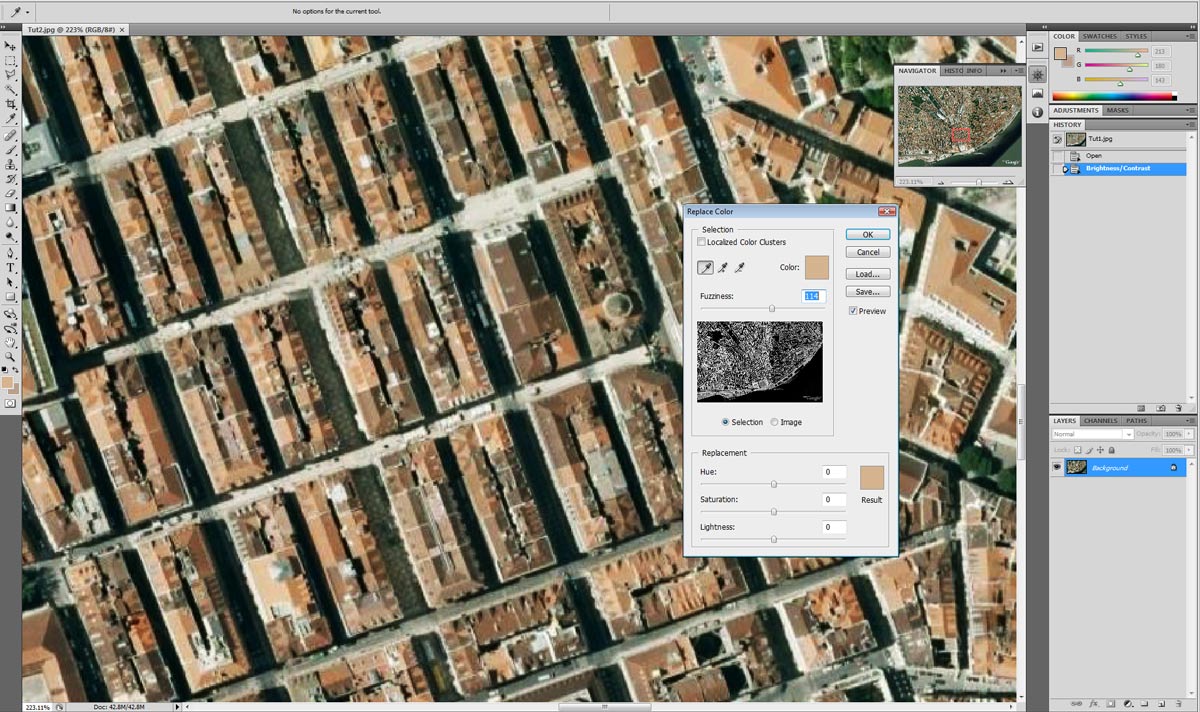
Using this technique change color of roads to dark.
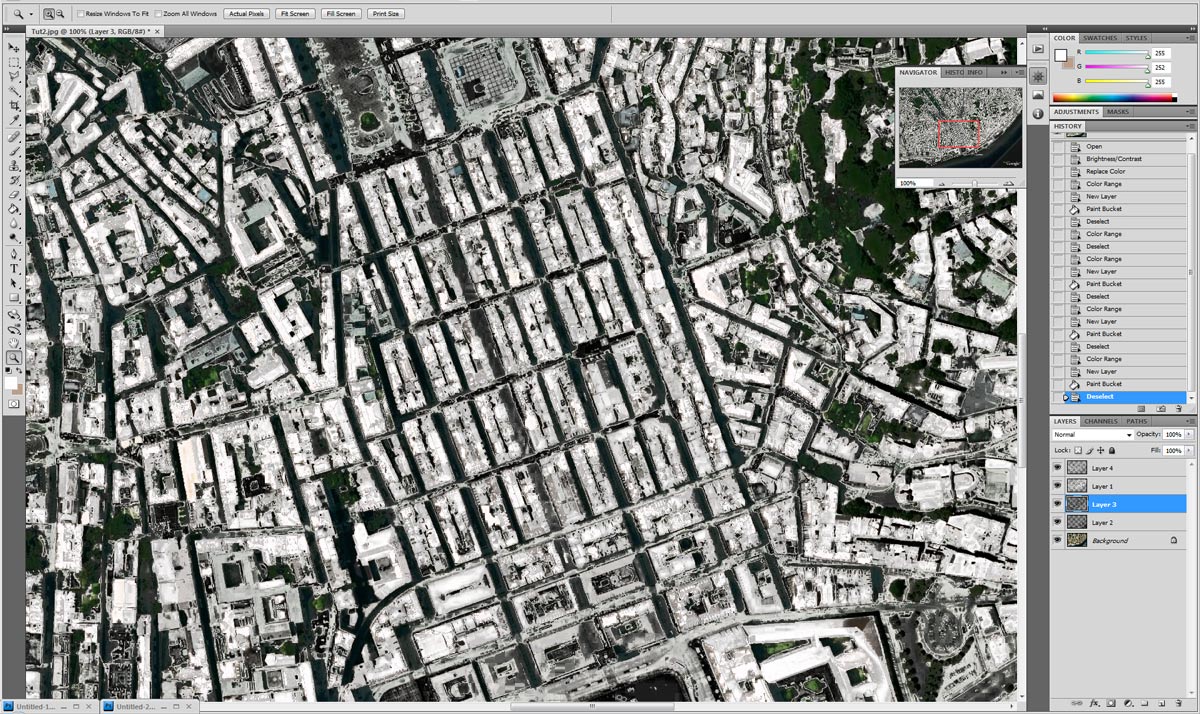
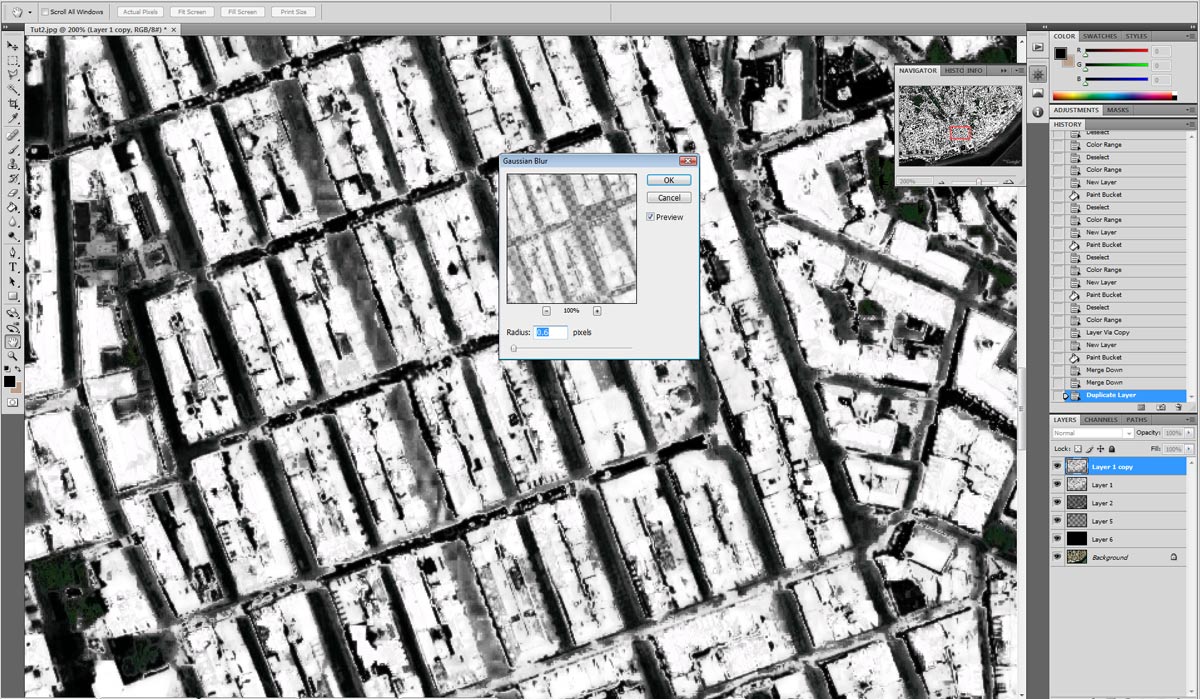
Try to simplify image during the process for better performance in 3D. Use blur+lighten layer style to fill small details. Also Color range+expand edge for 1piexel - for removing dust from image.
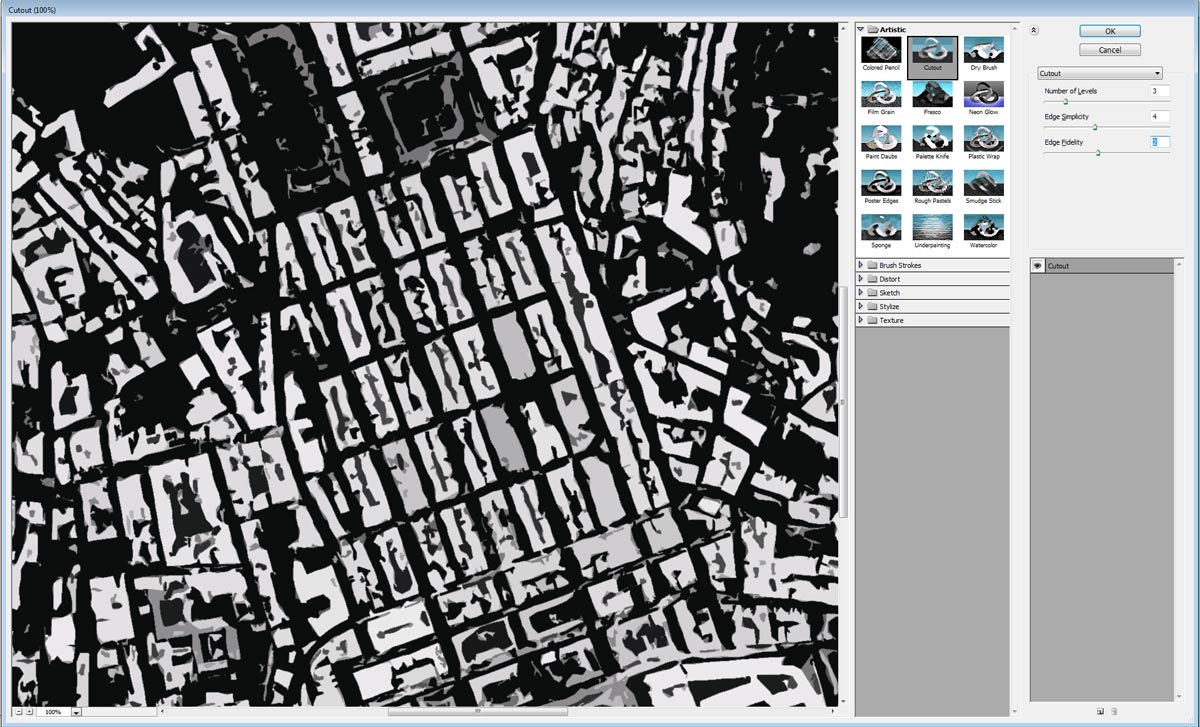
Use Cutout tool for more simplify
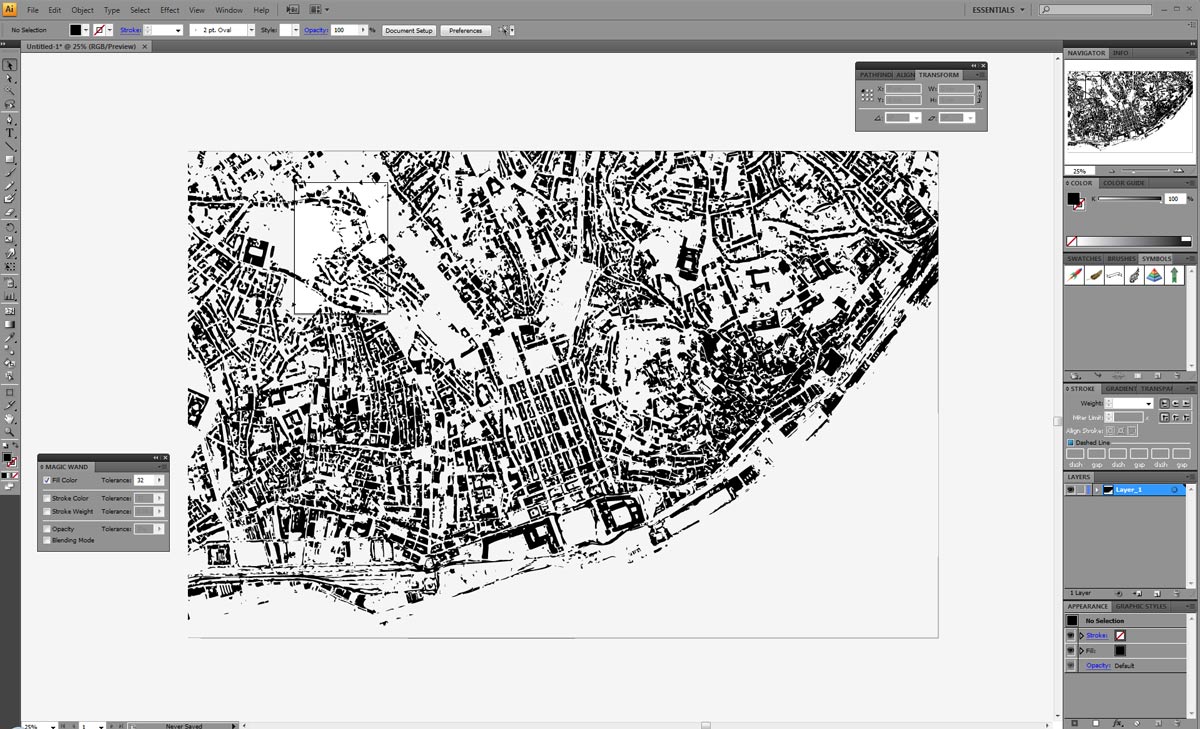
Illustrator CS2+. Open the image and trace it.

Silplify, remove, check and also an oportunity to make a details in places that we want.
Save as Illustrator file with Illustrator 3 verison.
3D max. Import curves
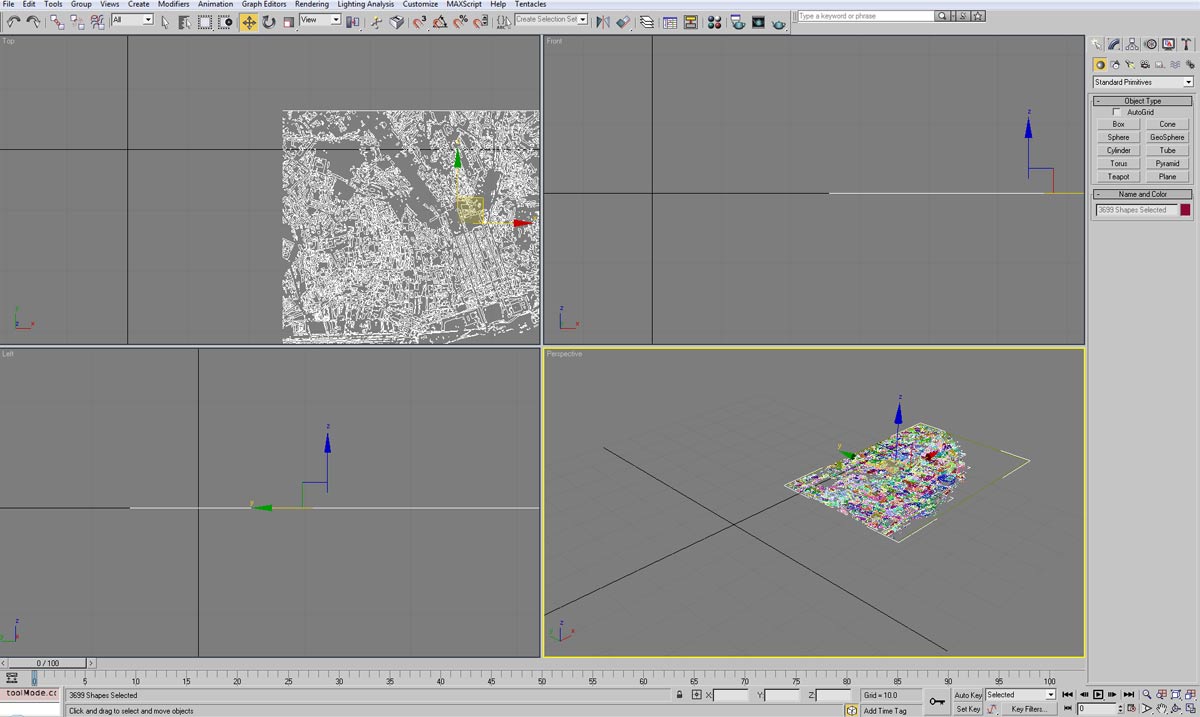
Start to attach curves, but don`t make it whole at once - it will crack down. Don`t know why limmit is 1000 curves to attach at once.
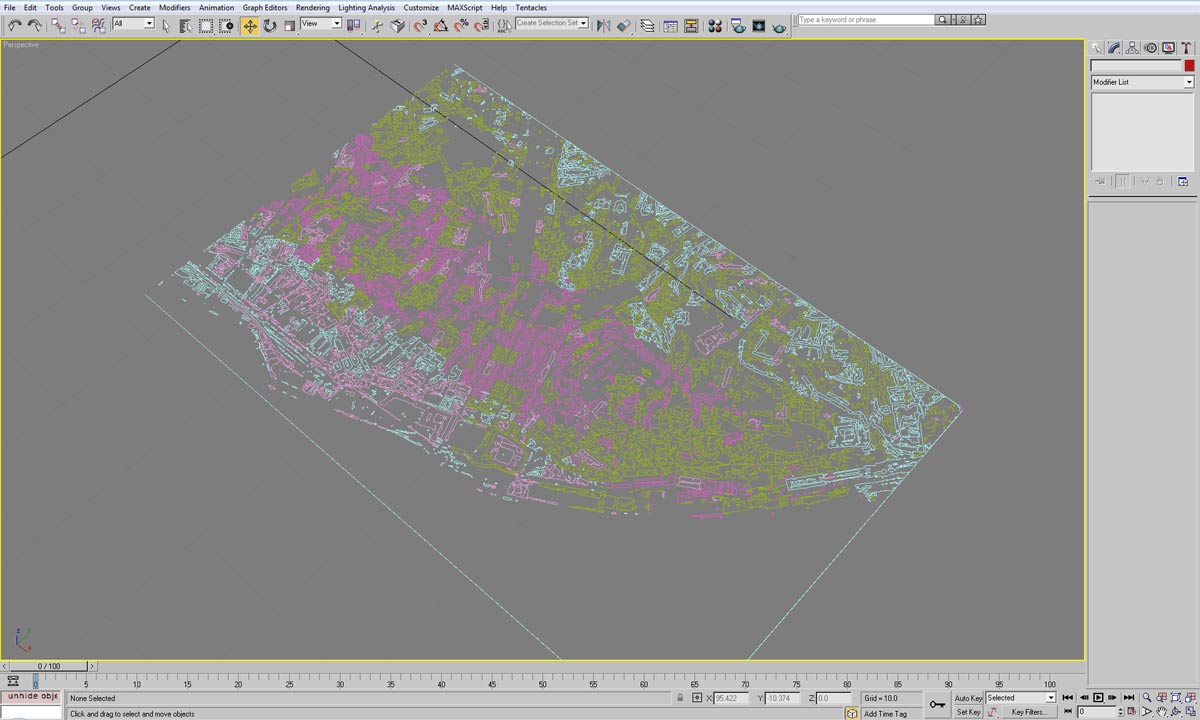
After attach all groups of curves together. Make spline Interpolation from 6 to 0 - for better performance.
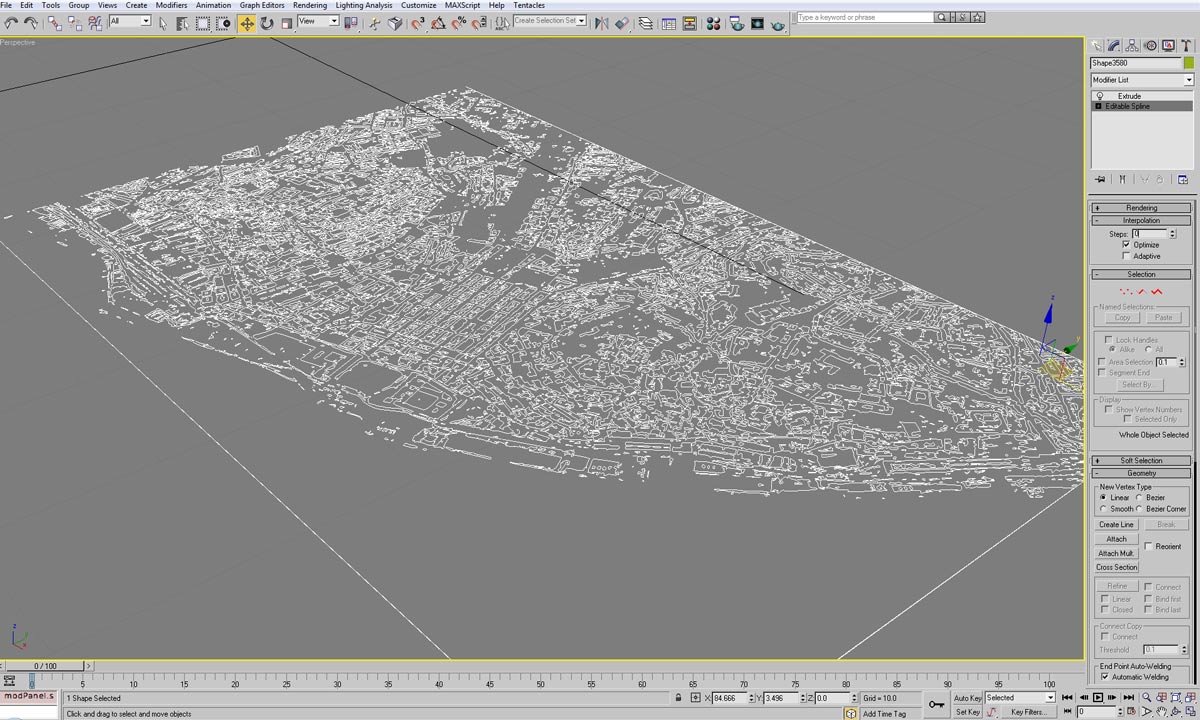
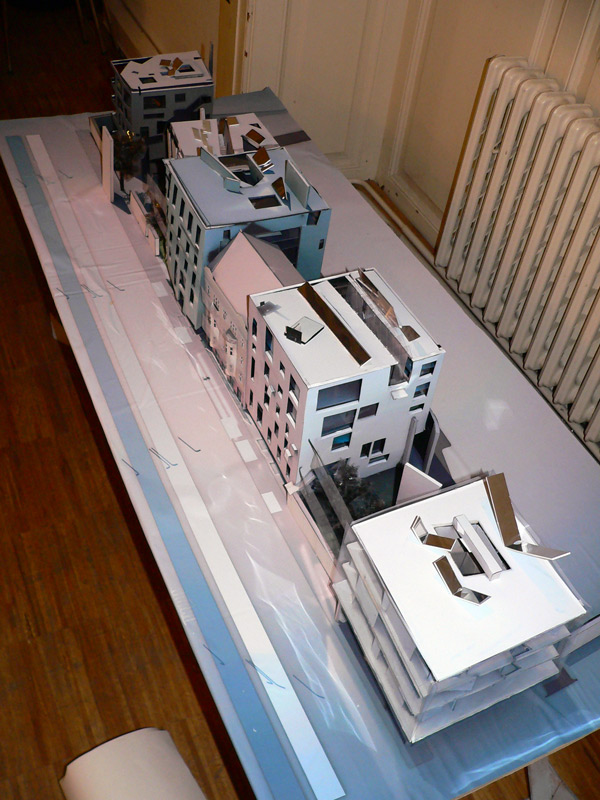
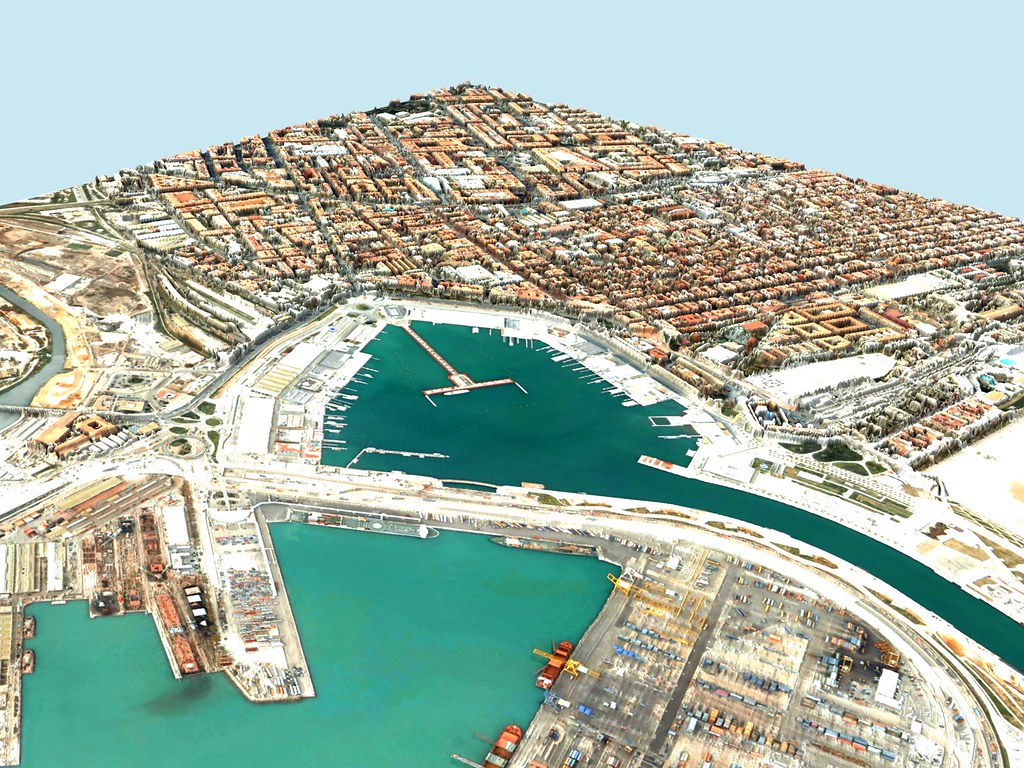
Extrude
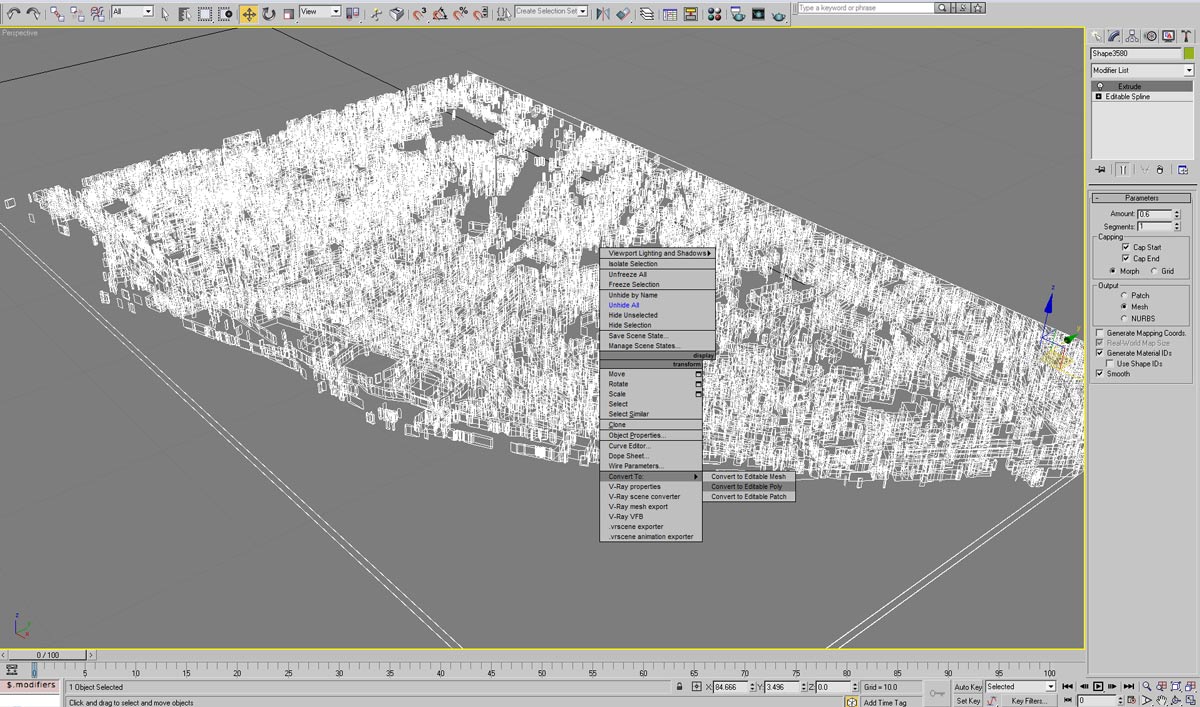
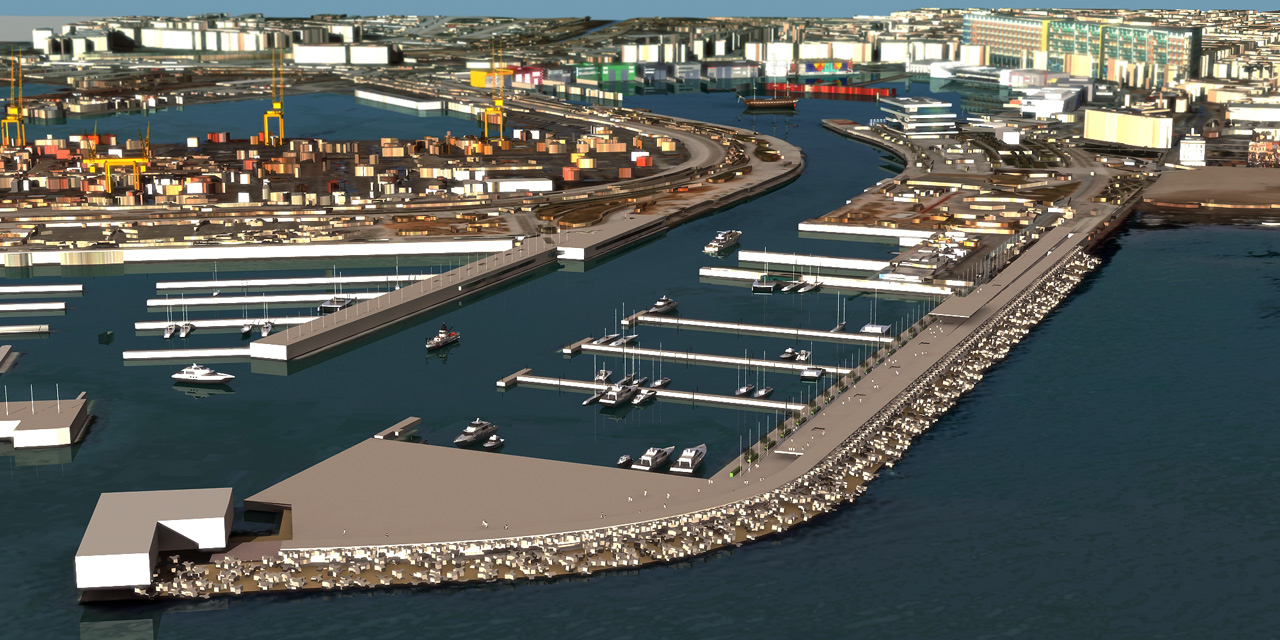
Create a plane with exact size of your Google image. Apply texture map from Google. Than scale the buildings to plane. Aplly UVW Mapping and make texture size same as size of texture to buildings and plane. Paint all building bottoms to white colour.

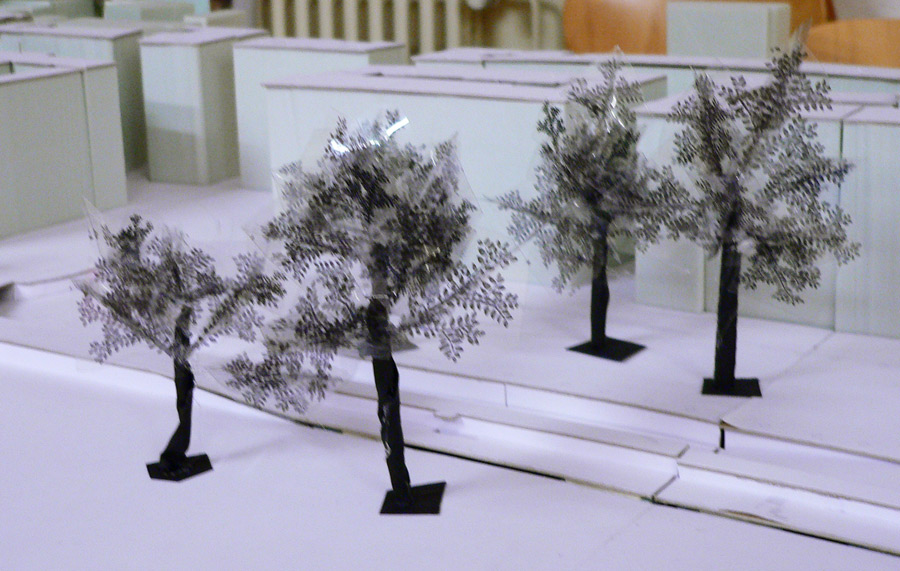
Ready. Also you could make reflection maps with this texture. Make simple window maps for buildings- with opacity map and reflective map. Adjust heights of building. Make bevel on saddle roofs. Add more traced layers like trees, cars.
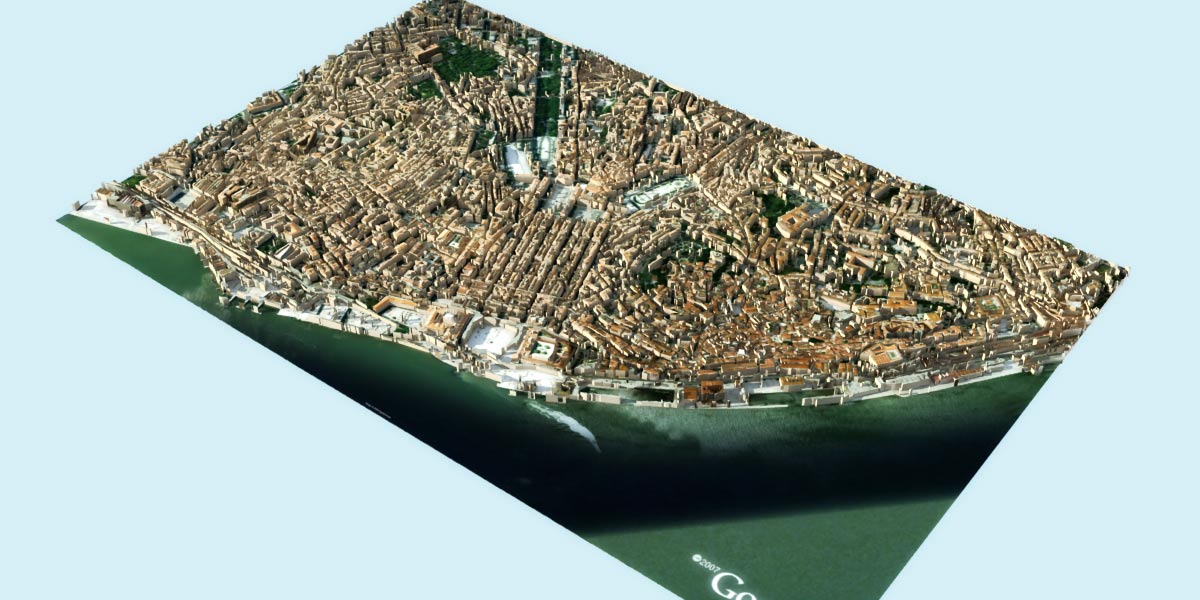
This technique is more faster than to make it manualy. Work won`t take you more than an hour. Looks good for fly acros animations. :) English...